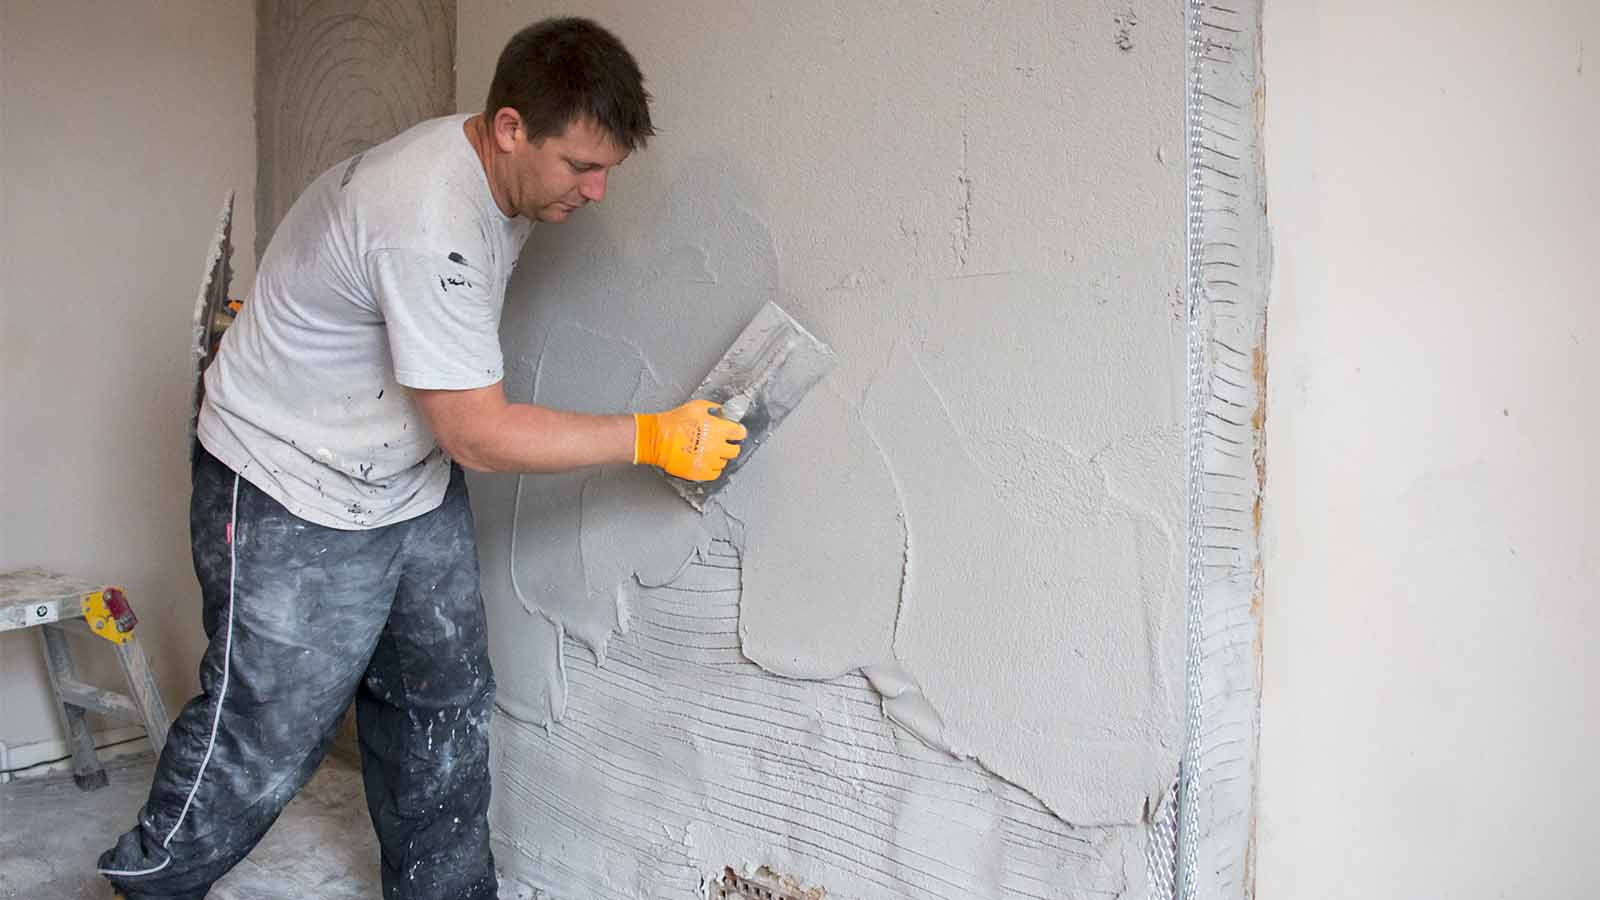
Prior to decorating a room with your choice of colourful paint or wallpaper, the internal walls need to be covered with a thin, smooth coat of plaster to create a perfect finish. The job of plastering is normally untaken by a skilled tradesperson, but with some proper planning and research is possible for the budding amateur to complete it with some success. This article will document what the correct tools are and what steps the plastering process follows.
Perfect Preparation Prevents
In newer homes builders use fireproof plasterboard as an alternative to having to plaster but if you are renovating an older property then the plastering will need doing. Remember plastering is often lengthy and messy work; firstly, ensure all obstructions are removed or covered with protective sheets. As well as the specialised plastering tools, you will also need these ancillary tools –
- Spray bottle for keeping edges or plaster clean and wet.
- Snap-off knife similar to a Stanley knife.
- Large clean mixing buckets, it is crucial they are kept clean.
- Small dustpan and brush to continually sweep up loose debris.
As well as these important items, ensure you are fully protected with the proper protective equipment goggles, dusk masks, and protective gloves are the minimum requirement when plastering. Also, keep a first aid kit to hand for any possible unexpected incidents.
Having The Right Tools for The Job
To successfully plaster in your home, there are several essential tools required; good quality examples are recommended as they will make the job easier.
These key tools for plastering are –
- A Plastering trowel is used to apply and finish the plaster; choose a well-weighted stainless-steel example which feels comfortable.
- A Plasterers Hawk board is a vital tool for holding wet plaster, both wooden and plastic options are fine, but the wood ones will last longer.
- The Bucket trowel is a scoop-shaped device for moving wet plaster from the mixing buckets to the all-important Hawk board.
- A Power mixer is advised; paddle attachments for power drill do work, but the purpose-made plaster mixing machine is the best option.
- A new high-quality paint brush is needed to keep the trowel edges clean and the plaster wet.
The Basics of Plastering
Household interior plastering follows a fairly straightforward process, take care to follow the mixing instructions for your plaster and also the directions for the application of the adhesive you are using.
Plastering then follows these procedural steps –
- Preparation of surfaces, removal of any loose debris, and taping of any plasterboard joints.
- Application of PVA adhesive used to stick the plaster to the wall.
- Mixing of the plaster using clean buckets and clean water.
- The first layer of plaster is applied, scratched, and left to dry.
- The topcoat is applied and, after a short wait, finished while still damp.
Further investigation of the full process is required and easily available via the wealth of helpful online guides.
Hopefully, this short article has given you some great ideas and the confidence to give plastering a try, and you never know. You might be a natural.

